This project is about the process of directly manipulating the color array by inserting color values into specific spots in the array
Software Used
Languages Used
Visual Studio
C++
Explanations
Vector Displays
Raster Displays
Alpha
Pixel Intensity & Gamma
Pixel Formats
RGB
Blending Pixels
BLIT Routine
Code
Raster Surface
Helper Functions
Animation
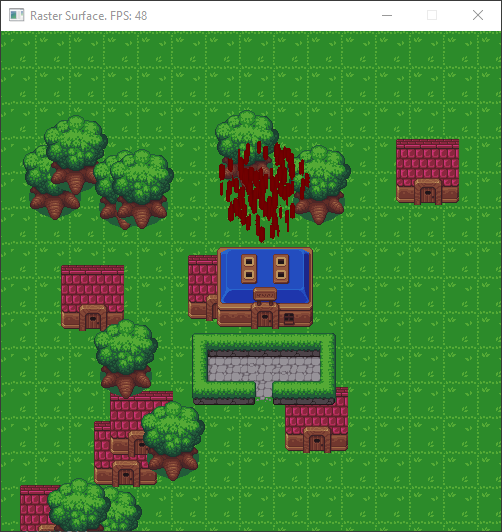
Get a tiled background showing on the entire color array
o The color values will be strange but this is fine for this section.
Swap the color bits from BGRA to ARGB and get 10 random objects in the color array.
o Some bit manipulation will be needed in order to fix the colors
o If you were able to get this far, you should be able to draw 10 random “tiled” objects onto the color array as well.
Get at least 1 “cell” of an animation rendering properly with blending. Ensurethat the cell properly blends with what is behind it.
o Depending on the alpha value of the cell, some form of interpolation will be needed to handle properly blending the background with the cell.
Play an animation with a high speed timer (The X Time class is great for this)
o A minimum of 30 frames a second playing for the animation.
1. Once you setup the rendering loop, it is time to start drawing a pixel. Call your function that draws a pixel and make sure it is drawing in the correct location. Contrasting colors are best to test with.
2. Now that you can draw a pixel, we should now attempt to draw a tile (square set of pixels) or BLIT an image.
a. For the tile’s height
i. For the tile’s width
1. Find the location into the image array. (2D to1D)
2. Draw a pixel at this location iterating through the width and the height
3. Once you are able to draw a BLIT / tiled image,we need to fill our color buffer with the same image. You are essentially going to repeat this BLIT horizontally and vertically as well.
a. For the number of evenly divisible tile heights
i. For the number of evenly divisible tile widths
1. Call your function to draw a tile.
4. At this point you should notice a border around the edge of your right and bottom side of the screen. This is because the remaining pixels did not constitute enough space to draw another BLIT. What needs to be done to your draw function to adjust for this?
5. Getting this far you should have a strong understanding on how to BLIT. Place 10BLITs randomly placed throughout the color buffer. These can be anything of your choosing. Obvious choices would be something large enough to notice.
6. Now let us introduce 1 “cell” of an animation. Be careful here because this is where you need to interpolate through color values since the animation might have alpha values lower than 255.
7. As soon as you can get a properly rendering BLIT with alpha transparency, solve how to iterate through the animation overtime. Make sure the animation plays smoothly at 30 fps.
Vector Displays
A type of CRT (cathode ray tube), a vector display would draw lines onto a screen by illuminating the embedded phosphor with it’s electron gun.
Since vector displays drew lines directly they did not use pixels as we know them today.
Many early arcade game from the late 70s to mid 80s preferred the vector display since it allowed for higher detail than equivalent raster displays of the time.
Raster Displays
Although early raster displays also used a CRT, they differed in execution.
A raster display is made up of a grid (the raster) of picture-elements (pixels) where each pixel can be triggered to emit light. Resolution describes the horizontal and vertical number of pixels.
Though we now use other technologies such as liquid crystal display (LCD) in our displays, the concept of the raster and pixel has stayed with us to this day.
What About Alpha?
Pixel Intensity & Gamma
Pixel Formats
Working with R8G8B8A8 Pixels
Blending Pixels Based On Alpha
How many REAL 2D games have you played?
Sample Arguments for a BLIT Routine